MicrosoftWindowsWindows 11
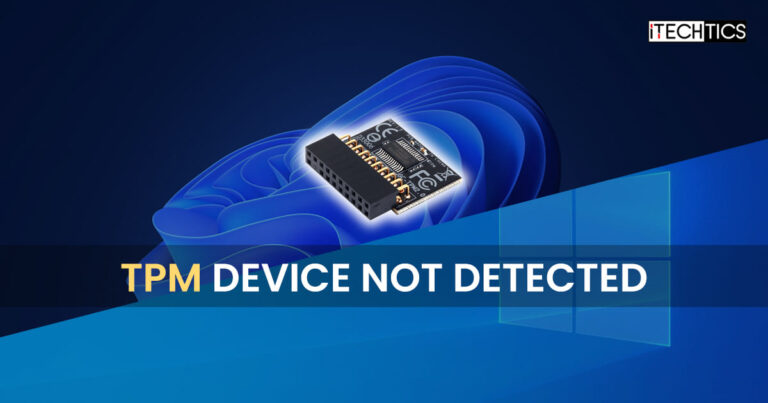
TheTrusted Platform Module (TPM)is a piece of physical security hardware embedded in your motherboard.
The TPM module stores encrypted keys inside the hardware chip.
It is a minimum requirement to installWindows 11.
Often, the TPM module can go haywire and throw an error.
But rest assured, it is still there.
see to it it is enabled or enabled using these steps:
key in your system firmware controls.

fire up the TPM Security controls.
it’s possible for you to find the TPM security controls under theSecuritysection.
Enable TPM.Enable TPM from firmware
Check the box next to TPM on and enable it.

Now check to see if the issue has been resolved.
Update TPM Driver
An outdated TPMdrivercan also cause it to not be detectable.
If you have installed a non-Microsoft driver, Bitlocker will not detect the TPM modules on your rig.

modernize your TPM driver to the latest version using these steps:
Open gadget Manager.
pop in indevmgmt.mscin the Run Command box.
Expand Security Devices.Expand Security devices
Update the Trusted Platform Module driver.
Right-tap on TPM and then clickUpdate driverfrom the context menu.
exit the driver update wizard.
If the latest driver is already installed, you canreinstallit or try tomanually update the driver.
Then check to see if the issue has been resolved and if TPM is being detected again.
These modern OS will automatically initialize the TPM module for you.
However, updating the firmware can be fatal for your box if done incorrectly.
Therefore, we suggest that you be very cautious during the process and create asystem restore pointjust in case.
If there is, we suggest that you install it on your gadget.
Once the firmware is updated, find out if your TPM is now detected and the issue is resolved.
In this case, you could try resetting the TPM.
Resetting the TPM will not result in any data being lost.
Note:Resetting the TPM isnotthe same as clearing it.
Shut down the computer.
Remove the AC power.
Remove the battery (in the case of a laptop).
Press and hold the power button for at least 60 seconds.
This will discharge any static power in the motherboard capacitors and other components.
Reconnect the battery and AC power.
Turn on the computer.
As soon as the computer turned on, the TPM would have lost all power and reset itself.
Check to see if this resolved the issue for you.
If this doesnt, then the only thing left to do is reset the TPM.
Clear TPM
Clearing the TPM means clearing out all keys and other data on it.
This means all keys will be lost.
There are different ways to erase the TPM.
Hence, take a backup of all critical data before proceeding.
Note that you’re free to only flush the TPM when it is detected.
Navigate to:
Click Security Processor Details.
Click Security Processor Troubleshooting.Troubleshoot security processor
Click Clear TPM.Clear TPM
Click Clear and Restart.
The computer will now restart and TPM will be cleared of all data.
The TPM can also be cleared from its dedicated Microsoft Console.
Click Clear TPM from the right pane.Clear TPM from Management Console
Click Restart.
The computer will now restart.
When it doesnt, all data on the TPM will be erased.
launch the following cmdlet in anelevated PowerShellinstance:
Now restart the computer for the changes to take effect.
The TPM can also be cleared directly from the firmware.
Here is how:
Enter the system BIOS.
Check the Clear box.
Click Yes on the confirmation dialog box.Confirm action
Exit system firmware tweaks while saving the changes.
The computer will now reboot and TPM will be cleared.
Before Windows 11, TPM was an added security layer to protect your devices from unauthorized physical access.
However, Windows 11 has made it compulsory to have TPM 2.0 installed on your system.
To ensure maximum security, you must get the TPM detected and functioning again.
0
Get weekly insights, tips and exclusive content delivered straight to your inbox.
Talk to us straight and get your questions answered right away
source: www.itechtics.com
